Living and cooking on a budget can be a bummer at times, but if you choose to be creative and have fun, sometimes a made-up recipe can be fun! In this case, when I stepped into the kitchen, I didn't have an exact plan of what I would be cooking. I browsed through the pantry and freezer to see what I could use and combine. I am a bargain hunter, so when I find a good sale, I stock up. Later on I may have "too much" in stock, so I pull things together and combine them. :)
In this case I surprised myself and my husband with this recipe. We wrote down all the ingredients and recorded cooking times and methods and came up with a fun name, or so we think. It will be a "favorite" in our family recipe book.
 |
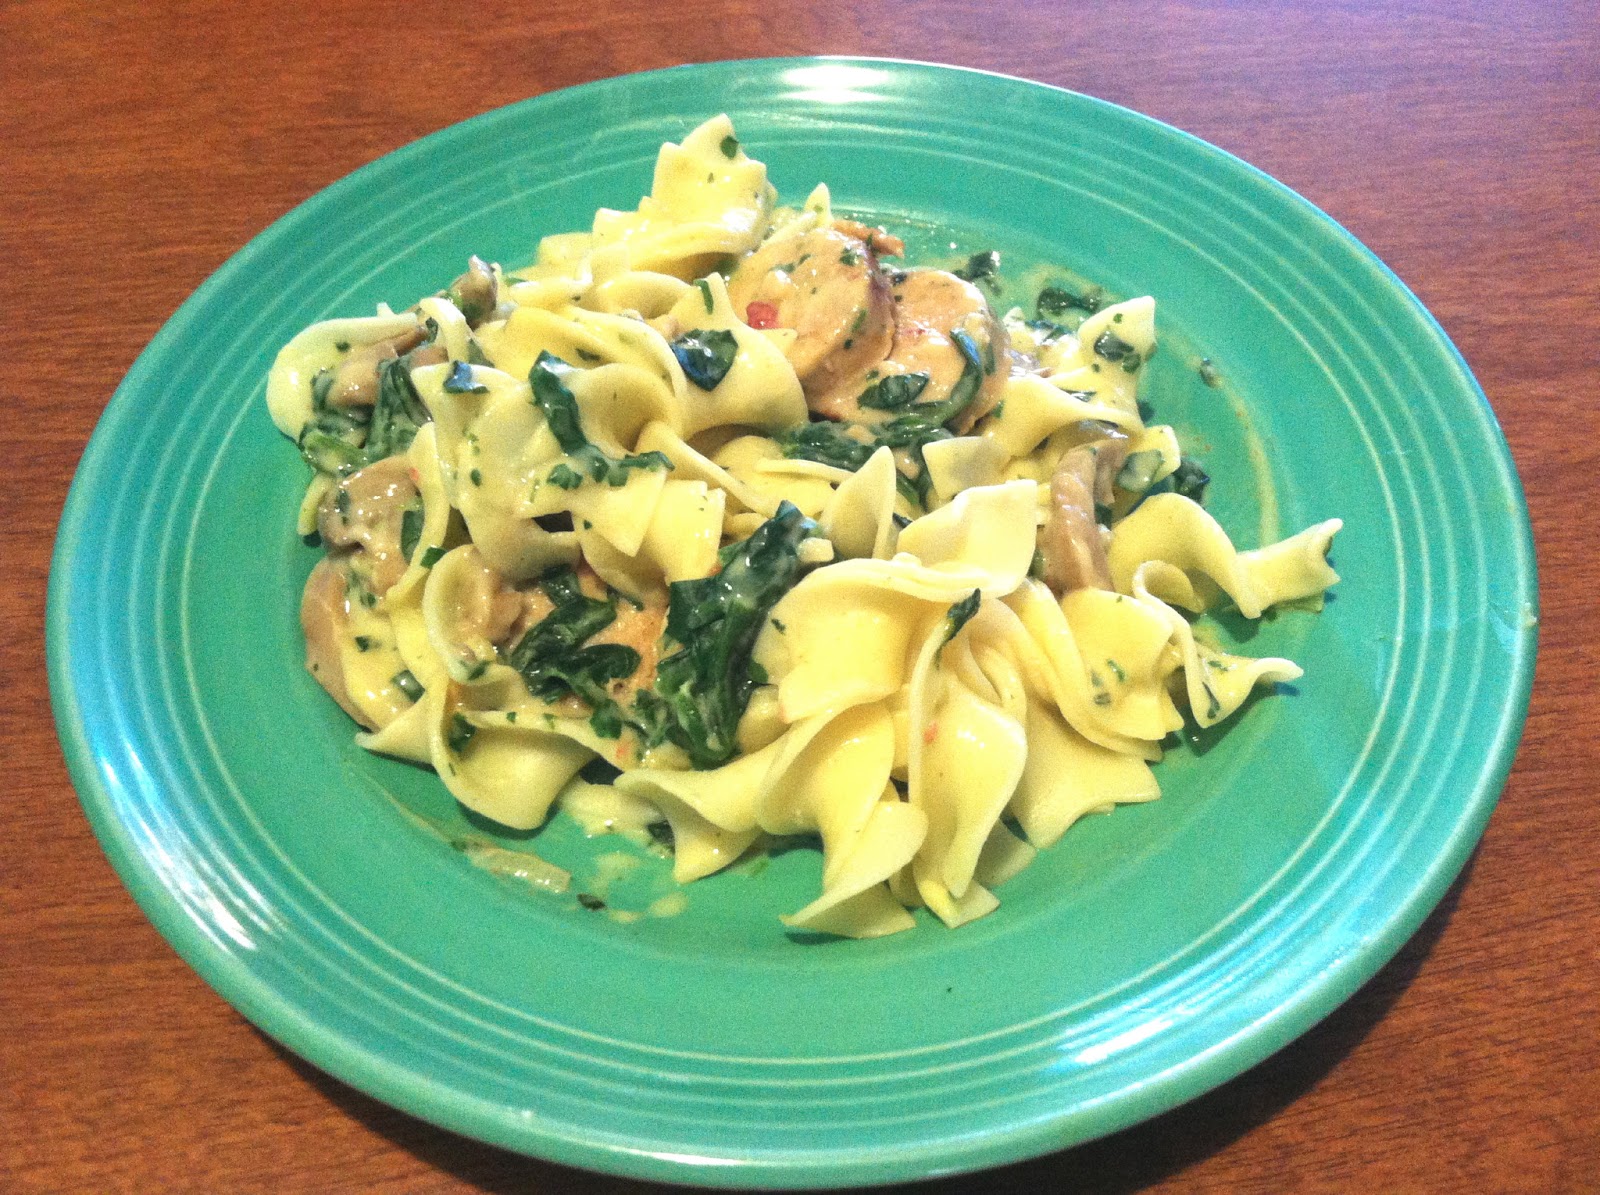
| Chicken Spinach Noodle Mix-up |
|
Chicken Spinach Noodle Mix-up
Prep/Cooking Time: 15-20 minutes
Serves: 4
Ingredients:
1 Cup frozen spinach or 2 cups fresh spinach
1 can Campbell's Cream of Mushroom Soup
1/2 bag of Wide Egg Noodles
1 can of cooked mushrooms
2 Links al fresco of Roasted Pepper and Asiago Chicken Sausage
1/4 cup Pico de Gallo (this isn't necessary, we had it left over, so we decided to throw it in)
1/2 teaspoon of Mixed Garlic seasoning (of your choice)
Splash of Half & Half or your choice of milk substitute
Directions:
In a medium sauce pan, cook noodles as directed. While noodles are cooking combine all other ingredients in a separate pan on the stove top on Medium. Continue stirring sauce until heated through and flavors seem to be combined (5-7 min). After noodles are finished cooking, drain and combine with sauce. Now, you're ready to eat!
I hope you enjoy this recipe. If you decide to make it at home, feel free to add or subtract ingredients! I'd love to hear how your recipes turn out, or what your favorite "made-up" recipe is! :)
As I said earlier, this was a complete experiment but we ended up loving it!
Cheers to CREATIVE COOKING!